A few years ago I learned to make seed starting pots using newspaper sheets and origami. My seedlings were very successful and when they were ready to be planted it was great to just be able to drop them into the ground without disturbing the roots! I've made these every year since.
This year I had a hard time figuring out how to make the origami pots so I figured I'd write my own tutorial as a reference for years to come. The original tutorial I learned to make these from is now gone. There are other sites that show you how to make the pots--including videos on You Tube--but I found many of them to be more confusing than helpful. So here's a photo tutorial of how I make origami pots. This photo tutorial can also be found on my Flickr account.
ORIGAMI POTS
Materials:
a newspaper, I like to use smaller-sized newspapers
Instructions:
Step 1 - Begin with half of a full sheet from a newspaper.

Step 2 - Fold the page in half taking the bottom end up.

Step 3 - Fold in half again from left to right.

Step 4 - Rotate the folded paper from Step 3 counter-clockwise one quarter turn.

Step 5 - Fold in half again from left to right.
(The crease in this step is important because it will be used as a guide in the following steps.)

Step 6 - After the crease in Step 5, open the paper so it looks like Step 4 again. Take the bottom right corner of the paper and bring it to the crease made in Step 5 creating this triangle shape and press/crease.

Step 7 - Flip the paper and create the same type of triangle as in Step 6 on the back side.

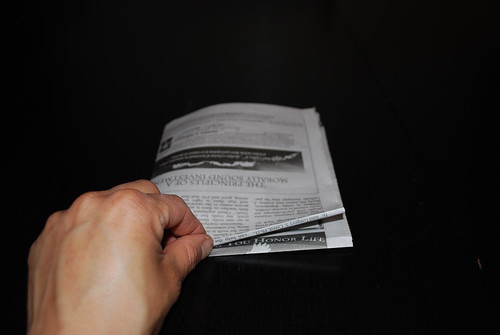
Step 8 - Just like turning the pages in a book, turn the left side of one of the triangles you just created in Steps 6 and 7 from left to right. Do this "turn the page" step again on the triangle that is located on the back side.

Step 9 - Take the left side of the paper and bring it to the crease made in Step 5 then press.

Step 10 - Take the fold from Step 9 and fold it in half to the crease again.
Do Steps 9 and 10 with the right side of the paper and then flip it and do the same folds on the back side--see Step 11.

Step 11 - This is what you should have after doing Steps 9 and 10 on 4 sides.

Step 12 - Take the top ends of the paper and fold them down at about the halfway point.

Step 13 - Open the pot and now you have a finished origami pot.
(The flaps can be tucked inside or left out as seen in this photo. I leave them out because the pots will hold their shape once they are filled with seed starting mix/soil and are lined up against each other.)

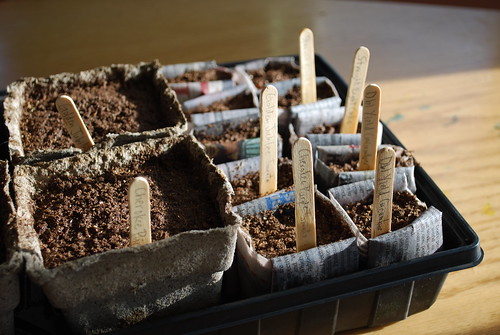
Here are some of the pots I have already put to use. (The taller pots on the left are not origami pots. They are pots made from cow manure that a friend was very generous to share with me.)


in step 7...........this is where mine looks different. my paper goes all the way to the top in this step. I don't get the flaps when I am done. what am I doing wrong?
ReplyDelete