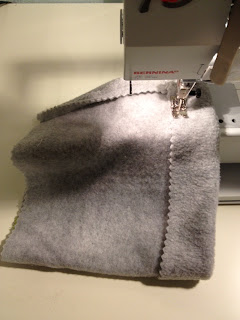
When you sew, you usually have a good amount of fabric AND a good variety of fabric too. Tonight I was happy to find a neutral-colored polar fleece in my fabric stash. It was just right for making cozy and warm neck gaiters/warmers for my kids. They will be in the cold Colorado mountains tomorrow where the forecast predicts temps to be around 15° F! Brrrr.
The neck gaiters will protect their faces from the cold air, wind burn, and even sun burn. Since I was able to make these so quickly I decided to share the quick how-to with you. Stay warm!
NECK GAITER/WARMER
Materials:
-polar fleece
-ribbon (optional)
Cut:
-one piece of polar fleece 10" x 22"
-one length of ribbon about 11" long
Instructions:
1. Once the fleece piece is cut out, decide if you want to embellish it with the ribbon or not. If you choose to embellish, I suggest you place the ribbon along the length and not the width. The fleece has stretch and adding ribbon side to side can keep it from stretching as you pull it over your head.
2. Fold fleece right side to right side with the two 10" sides overlapped and stitch.
3. Finger press the seam open.
4. Hem one open side of the neck gaiter with a hem about 1-2 inches. The hem can be topstitched with a single, double, or triple seam. Extra hem seams are only for design purposes and not necessarily to secure the hem.
5. Hem the other open side of the neck gaiter with a hem about 1-2 inches. Once again, you can topstitch the hem with a single, double, or triple seam.
6. Your neck gaiter is finished!
Here you can see the wrong side and the right side. Notice I finished the edges by pinking. Fleece does not fray so it is not necessary to finish the seams. I just like the look of the pinked seams and I really like to use my pinking rotary cutter!
A stack of neck gaiters.
As an added bonus, the neck gaiter can become a hat or even a head band!


No comments:
Post a Comment