When I first saw the cute patterns by the Straight Stitch Society I knew I wanted to make the coin purse and sewing kit patterns! I couldn't find them locally so I ordered them online. They arrived within days but it took me a few weeks to finally have time to try making them.
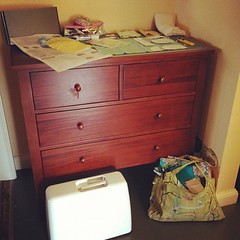 |
I only sewed 3 or 4 days out of 7 and worked on the dog coin purse and a skirt that had been waiting for a year to be completed. It needed the "right" ruffle. Thankfully, Breckenridge has a cute shop, Magical Scraps, that sells fabric and I was able to find a good match. (See a pic at then end of this post.)
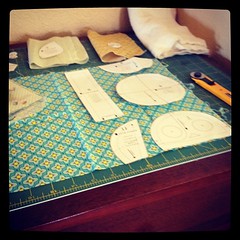 |
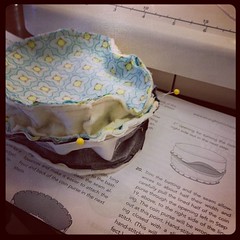
| cutting the pattern |
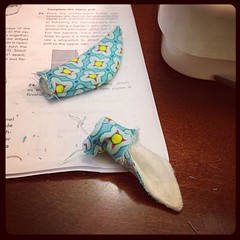 |
| dog ears |
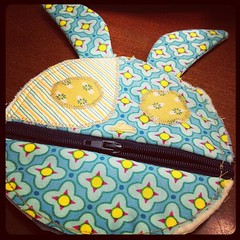 |
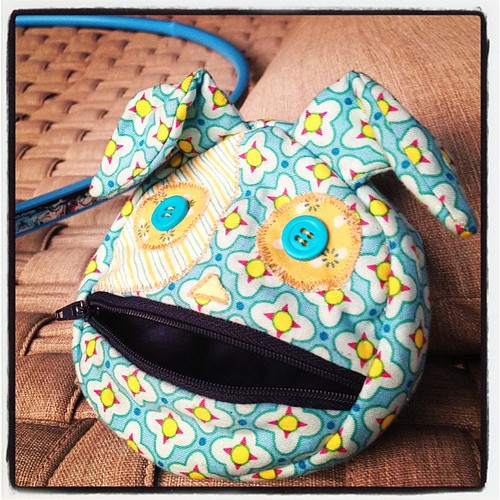
| Dog face with mouth and ears. |
 |
| First half of the dog face. |
 |
| This is wrong. |
 |
| This is right. |
I had fun making this doggy coin purse but made a few mistakes because I wasn't paying attention and I was being a little over-confident with my sewing knowledge. My mistake was in assuming what the next steps were going to be and then I had to do some stitch ripping because my assumptions were wrong. Had I kept going with my own plan this coin purse wouldn't have turned out as well. So, follow the instructions! Liesl is a great pattern designer!
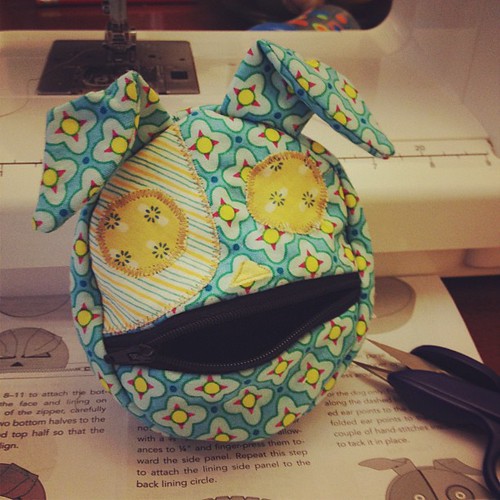 This poor doggy sat without eyes for a few weeks until I finally took the time to find matching buttons and stitch them on! Turns out, it was a quick and easy step. It was painless too; finishing a project always is.
This is the skirt that needed the ruffle. I used a green Amy Butler floral.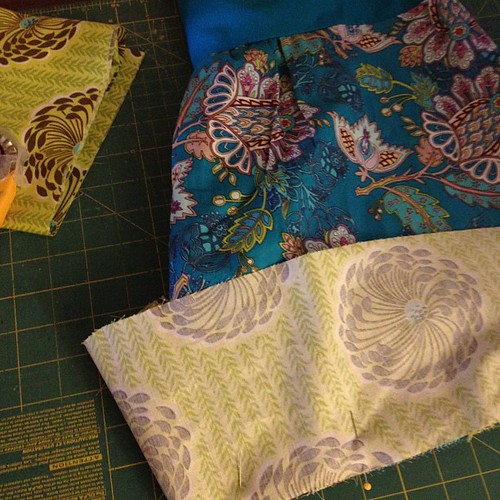
+/-
The good about this project:
+ it's fun to make
+ the instructions are well-written
+ you don't need a whole lot of fabric, but variety is good
+ three animal choices--dog, cat, monkey
The not so good, for me:
- There are a lot of pattern pieces to cut out and it gets a bit confusing when you have to cut them out of "fabric A" or "fabric B", etc. I was feeling a bit overwhelmed with all of the pieces, but, as is true with most first projects, once you figure it out, it isn't so bad. Just pay attention to each piece you need for the animal you choose. The pattern pieces are labeled but it took a bit for me to wrap my head around it.
- I didn't read the instructions and assumed what a next step would be; it turned out I was wrong. Oops! Follow the instructions!

I found you from your flickr pic of this project, I'm just about to start cutting and thought I have a quick look to see if anyone had made one and written about it! Thanks for your tips, glad it's not too tricky!
ReplyDelete