I made a special pillow for my niece's birthday. She's a Justin Bieber fan so I converted a JB t-shirt into a pillow for her.
Here's how I did it:
Pattern: T-SHIRT TURNED PILLOW COVER by Claudia Miller
Fabric: a Justin Bieber t-shirt, "Garden Friends" by Jay McCarroll
Level: Basic to Intermediate
Skill(s): repurposing a t-shirt, working with t-shirt fabric (knit fabric), cutting an awkward shaped fabric, using fusible interfacing, making an envelope closure
Fit: N/A
Materials:
pillow form, mine measured 14" x 14"
Justin Bieber t-shirt
woven interfacing (aka
Stacy Shape-Flex Woven Interfacing)
quilting cotton
Instructions:
Seam Allowance 1/2"
RS = right side
1. Cut the t-shirt to measure roughly 15" x 15" (or 1" bigger than your pillow form).
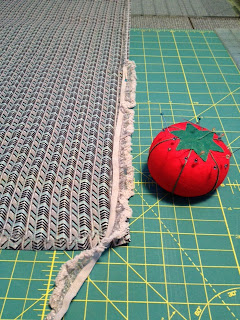
I had to "measure twice" before I cut the t-shirt because the front of the t-shirt measured just under 14" across. To make the most of the t-shirt without having to piece the front, I first cut it open on the center back. This allowed me to spread open the t-shirt so that I could cut the side seams further back. The side seams and some of the sleeves ended up in the final cut but it wasn't a problem as you can see below.
2. Cut the woven interfacing larger than the t-shirt and fuse* the two together. This will allow you to trim down the interfaced t-shirt to the correct size without much fuss.
*I like to use woven interfacing when I work with knit fabric because it keeps it flexible and soft. For the best fuse, dampen the interfacing before you iron the two pieces together.
3. Cut 2 pieces of quilting cotton for the back side of the pillow. Each piece should measure the same width as the front piece of the pillow and 2/3's the height of the pillow. For this pillow the measurements were 9.5" x 15".
-Sew a double-fold hem on each piece along one of the 15" sides.
-Overlap the hemmed edges in the center of the pillow to create the envelope opening for inserting and removing the pillow form.
-Place pillow front (the fused t-shirt square) over the back pieces and line up all four sides, RS to RS.
-Sew all the way around the outside edges using a 1/2" seam allowance.
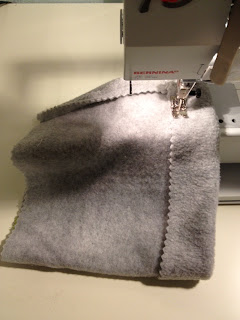
-Finish the edges--I used my favorite tool, the rotary pinking cutter. You can zigzag the seam allowances or serge.
-Turn right side out.
4. Stuff the pillow form into the pillow cover and you are finished!
 |
| I Heart JB! |
+/-
Good:
-simple project with just a few steps
-a great way to make a fun gift
-fun to make and fun result!
Not so good:
This project is simple and shouldn't give you many troubles. If I had to say there there not so good experiences with this project, they would be the following.
-one difficulty was figuring out how to cut the t-shirt so that I didn't have to piece it together with scraps. As you can see, it was an easy solution.
-the arm seam of the t-shirt is visible in the finished pillow. This isn't a bad thing, if you can make it look nice. I'm happy with how it looks:
Which t-shirt would you use to make a t-shirt pillow cover?


